How to Patch a Small Hole in Drywall
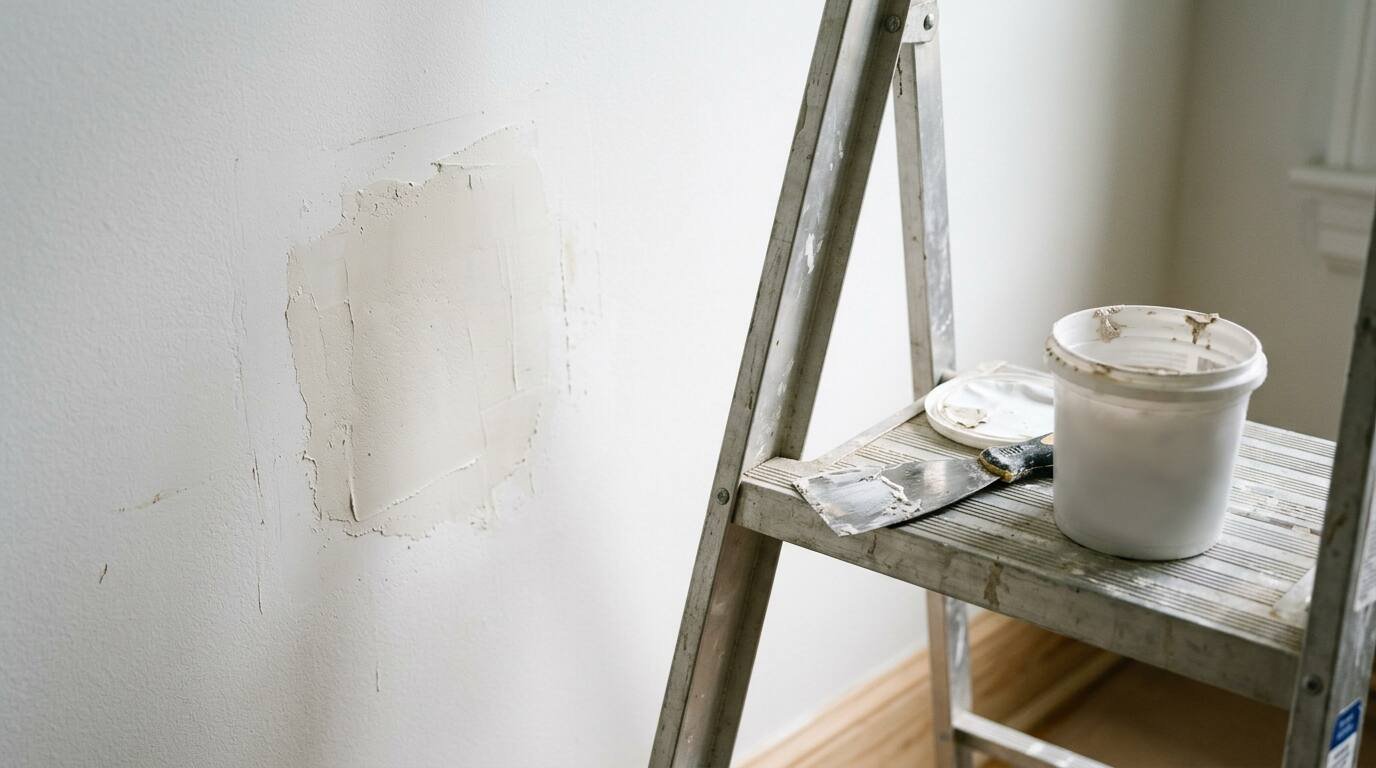
Some links in this guide are Amazon affiliate links. As an Amazon Associate, Maison Pawli earns from qualifying purchases at no extra cost to you. This guide is general information, not professional advice. When a job touches electrical, gas, structural or permit questions, hire a licensed professional.
A doorknob swings too far, and now the wall has a crater. Or the picture you hung last spring comes down and takes a chunk of plaster board with it. Holes like these look dramatic, yet they rank among the easiest repairs in a house.
What separates a patch you can spot from across the room from one you can never find again is patience, mostly. The work itself takes minutes; the drying is where the hours go.
Size the hole before you shop
This guide covers two sizes. Anything under about an inch, such as a nail hole, a screw hole or a small dent, calls for spackling paste. Holes from roughly one to two inches across need a little more structure, in the form of drywall mesh tape and joint compound, according to the walkthrough at Bob Vila.
Bigger than two inches? A patch kit or a cut-in piece of new drywall is the better route, and that is a different project. For now, measure the hole with a tape and match it to one of the two methods below.
Gather what you need
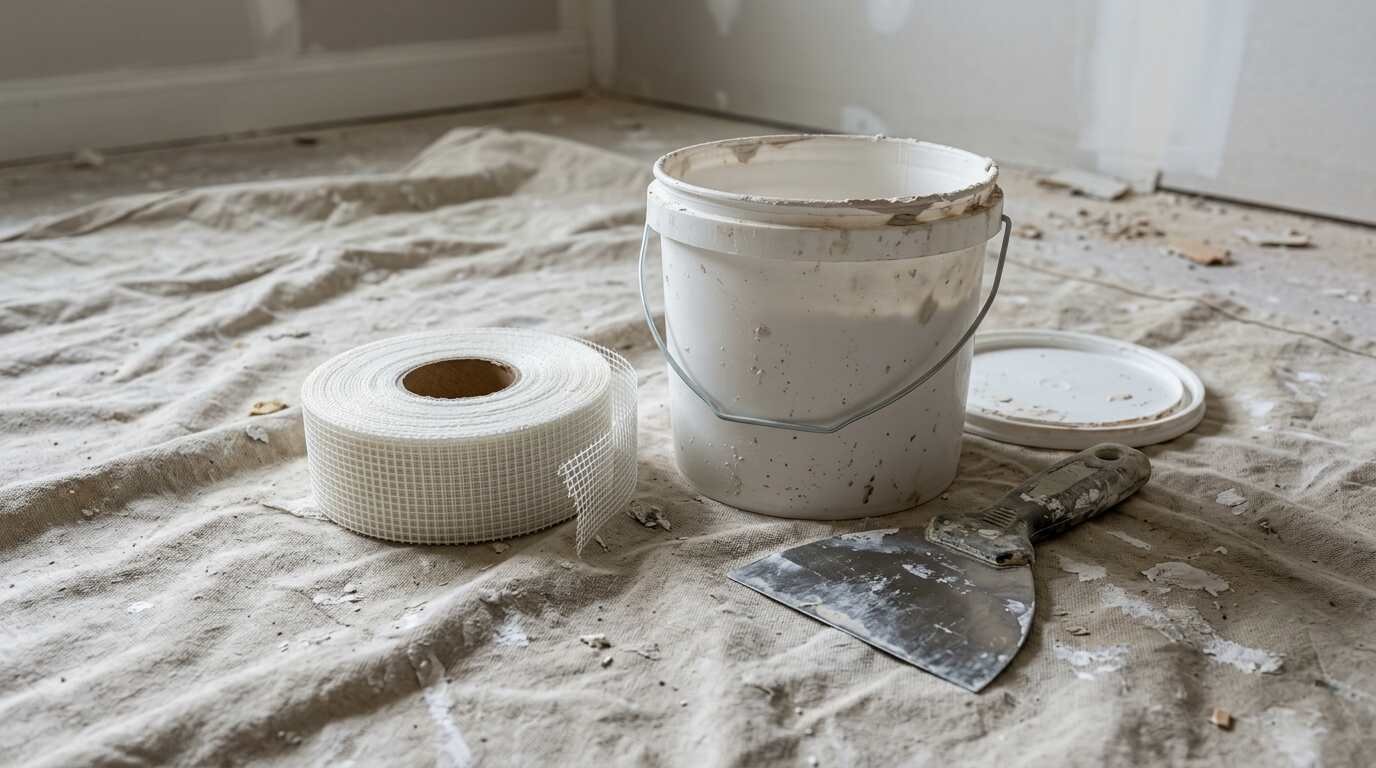
- A putty knife, ideally one around three inches wide for smoother sweeps
- Lightweight spackling paste for small holes, or joint compound for medium ones
- Self-adhesive mesh tape or precut mesh patches for the medium holes
- A fine-grit sanding sponge or block
- Primer and matching paint for the final coat
- A dust mask, since drywall dust travels
A few of these are easy to order in one go: a flexible putty knife, a tub of lightweight spackling paste, a pack of self-adhesive mesh patches, a sanding sponge and a box of dust masks.
Fix a hole under an inch
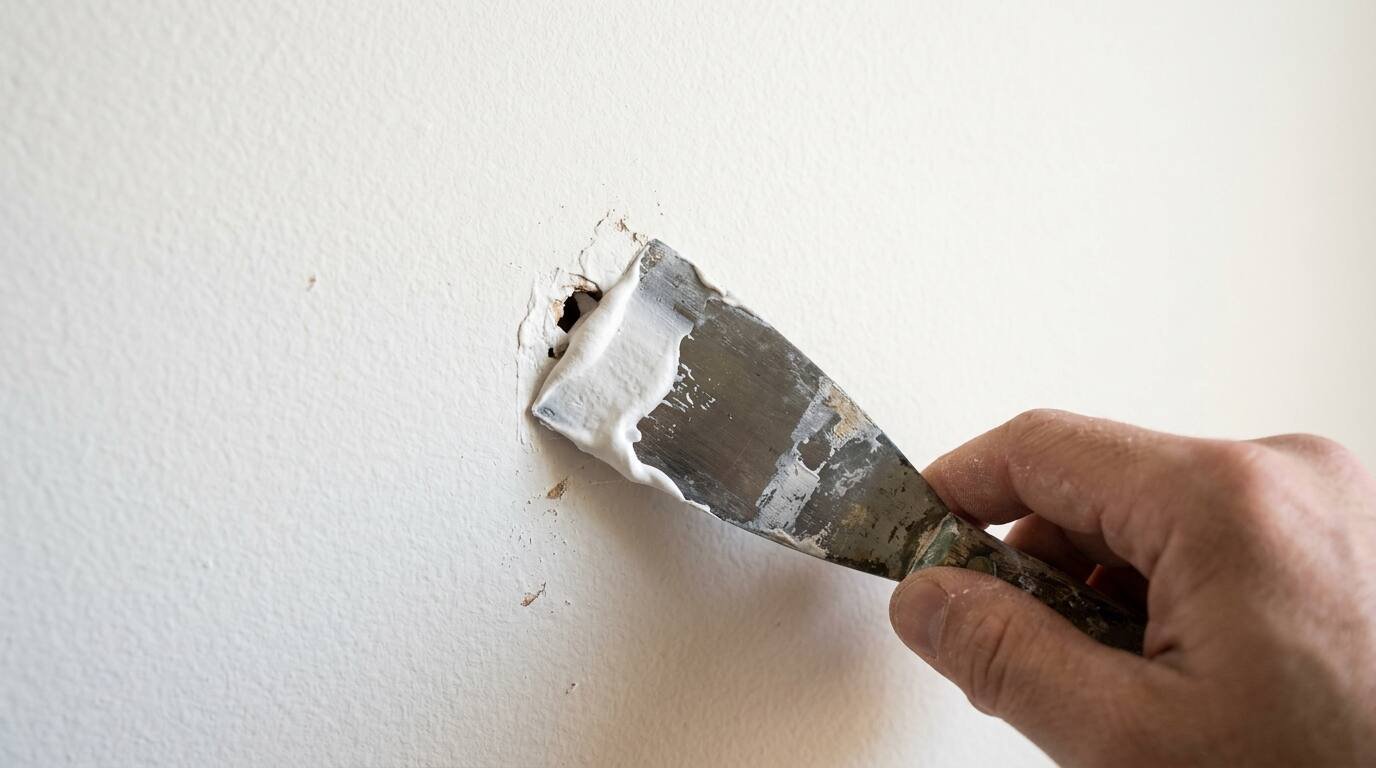
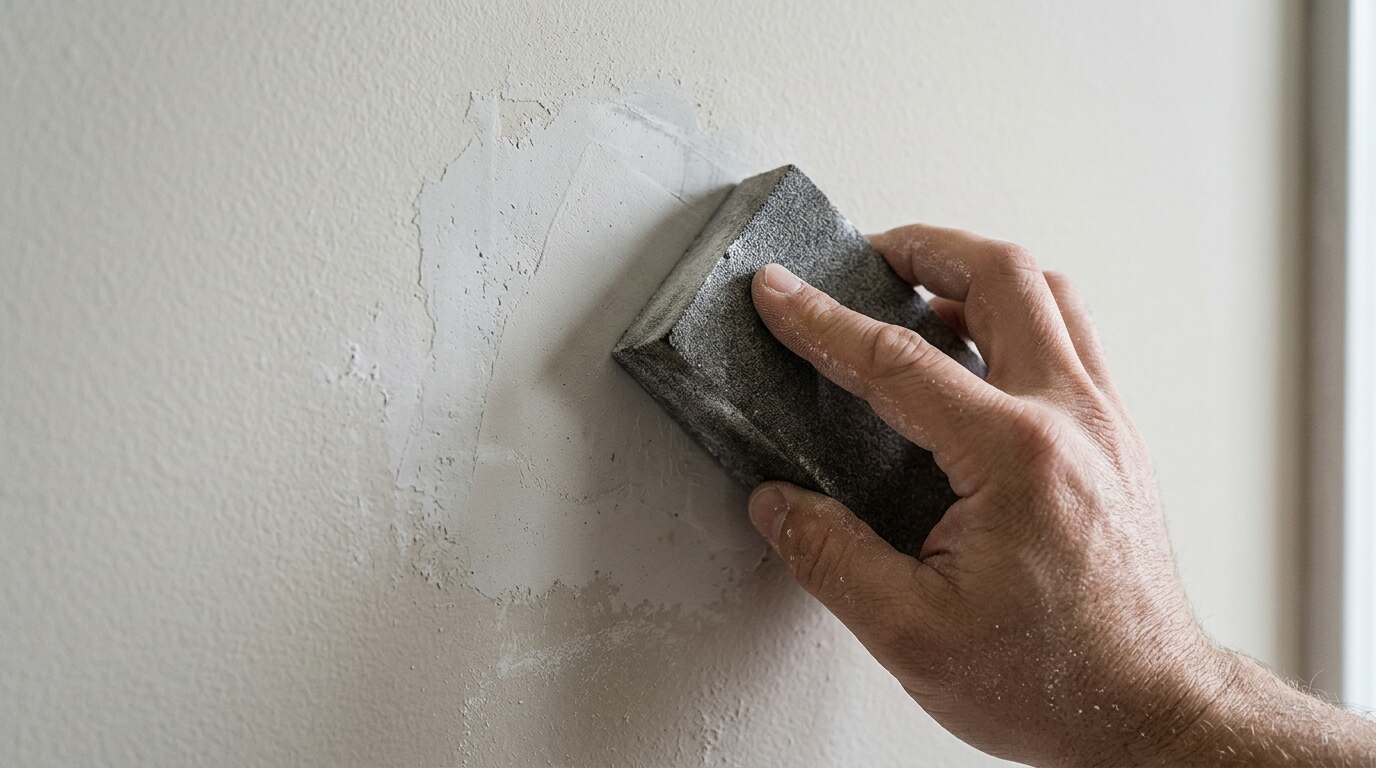
Start by sanding around the edge so any raised, ragged paper lies flat. Load the knife with spackle, press it into the hole until it is full, and leave a small mound proud of the wall.
Next, hold the knife nearly flat against the wall and sweep across the mound so the patch sits level. Then wait. Check the label for the dry time, because products differ, and sand lightly once the spackle has set.
Fix a medium hole, one to two inches
Sand the area first, then cover the hole completely with a piece of mesh tape. The mesh gives the compound something to grip, so the patch will not sag into the opening.
Spread joint compound over the tape, working a little extra into the seam where the tape meets the wall. Flatten the mound with the knife and scrape the surface smooth. Plan on roughly eight hours of drying, or follow the manufacturer’s directions, before you sand and repaint.
If a low spot shows after sanding, add a second thin coat. Thin coats beat one fat coat every time.
Prime, paint and check your work
Bare compound soaks up paint unevenly, which leaves a dull halo known as flashing. A coat of primer over the patch prevents it. After the primer dries, roll or brush on your wall color, feathering the edges outward.
Raking light is the honest judge here. Hold a flashlight flat against the wall and look along the beam; any ridge or dip will cast a shadow. Better to find it now than after the final coat.
Before you cut, sand or drill
A wall can hide wires and pipes. If a hole exposes anything that looks like cable, a pipe or a scorched spot, stop and call a licensed electrician or plumber. Wear a dust mask while sanding, and if the home was built before 1978, read the lead-paint note in our painting guide before you sand any painted surface.
Why a clean wall matters beyond looks
Small repairs add up. Walls that are patched, primed and painted tend to photograph and show better, and they keep minor damage from turning into a larger repair later. That is practical housekeeping rather than a promise about value; what a home is worth depends on far more than paint.