How to Paint a Room Like You Meant To
Some links in this guide are Amazon affiliate links. As an Amazon Associate, Maison Pawli earns from qualifying purchases at no extra cost to you. This guide is general information, not professional advice. When a job touches electrical, gas, structural or permit questions, hire a licensed professional.
Fresh paint changes a room faster than almost anything else you can do in an afternoon. It also exposes every shortcut. A skipped patch shows, a wavy tape line shows, and a thin second coat shows.
So the order matters. Do the dull work first, and the satisfying part, rolling the color, takes care of itself.
Read this first if your home predates 1978
Homes built before 1978 may contain lead-based paint, and renovation, repair or painting work can release dangerous lead dust. The EPA says its Renovation, Repair and Painting rule generally does not apply to homeowners working in their own pre-1978 home. It does apply if you rent all or part of the home, run a childcare facility there, or renovate homes to sell for profit.
EPA recommends hiring a lead-safe certified contractor, and if you do the work yourself, using its do-it-yourself lead-safe work practices. The EPA page links to that guidance but does not list the specific steps, so I will not improvise them here. Read the EPA material before you sand, scrape or demolish any painted surface in an older house. If you are renovating to resell, speak with an attorney about your obligations.
Choose the color with real light
Paint chips lie. Under store lighting, a warm gray can look green at home. Buy a sample pot, brush a two-foot square onto the wall, and look at it in the morning, at midday and with the lamps on at night.
Do this on two walls if the room faces more than one direction. Daylight shifts the color across the room, and the corner that looks perfect at noon may turn muddy at dusk.
Prepare the room
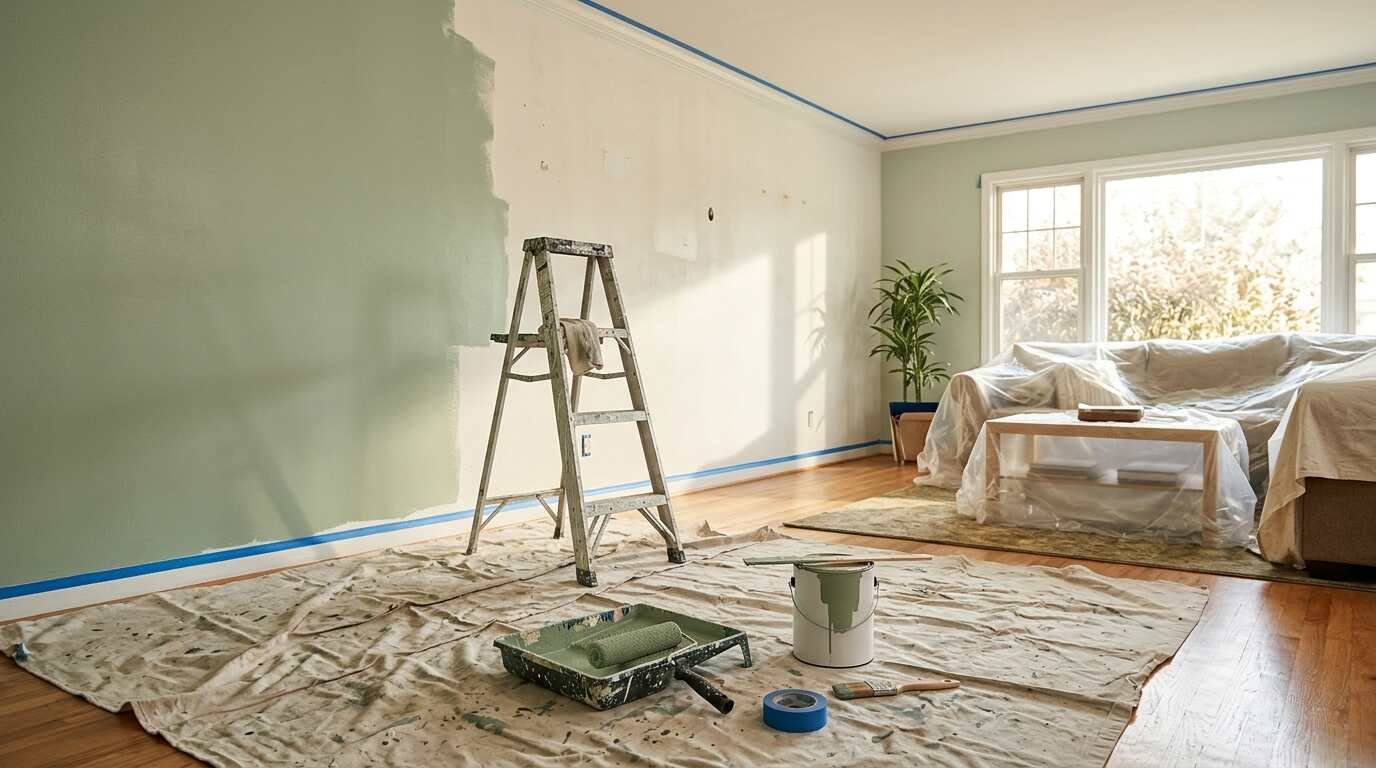
- Move furniture to the center or out of the room, and cover what remains with plastic.
- Lay a canvas drop cloth over the floor, since plastic alone is slippery and does not absorb drips.
- Remove outlet covers and switch plates, and keep the screws in a labeled cup.
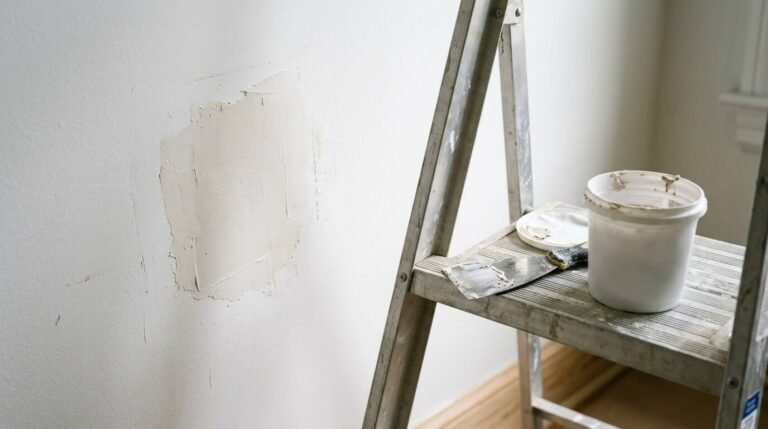
- Patch holes using the approach in our drywall repair guide, then sand the patches smooth.
- Wipe the walls with a damp cloth to remove dust, and let them dry.
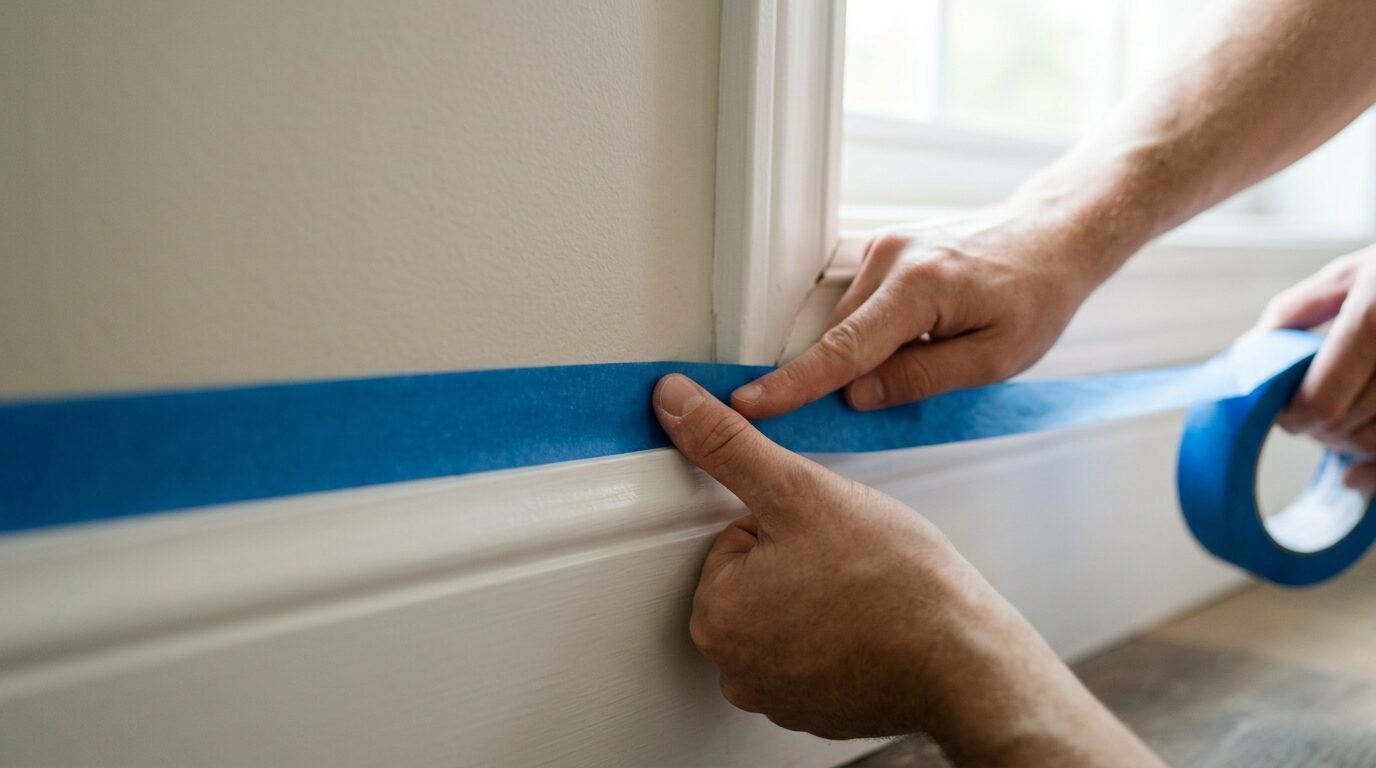
- Tape along trim, ceiling edges and windows with painter’s tape, pressing the edge down firmly.
A starter kit helps: a canvas drop cloth, a roll of painter’s tape, and a paint roller kit with a tray and an angled sash brush.
Prime where it counts
Prime new patches, stains and any dramatic color change. Primer also helps when you are covering a dark wall with a light color. Check the label for how long it needs before the topcoat goes on, because the can knows your product better than any blog.
Cut in, then roll
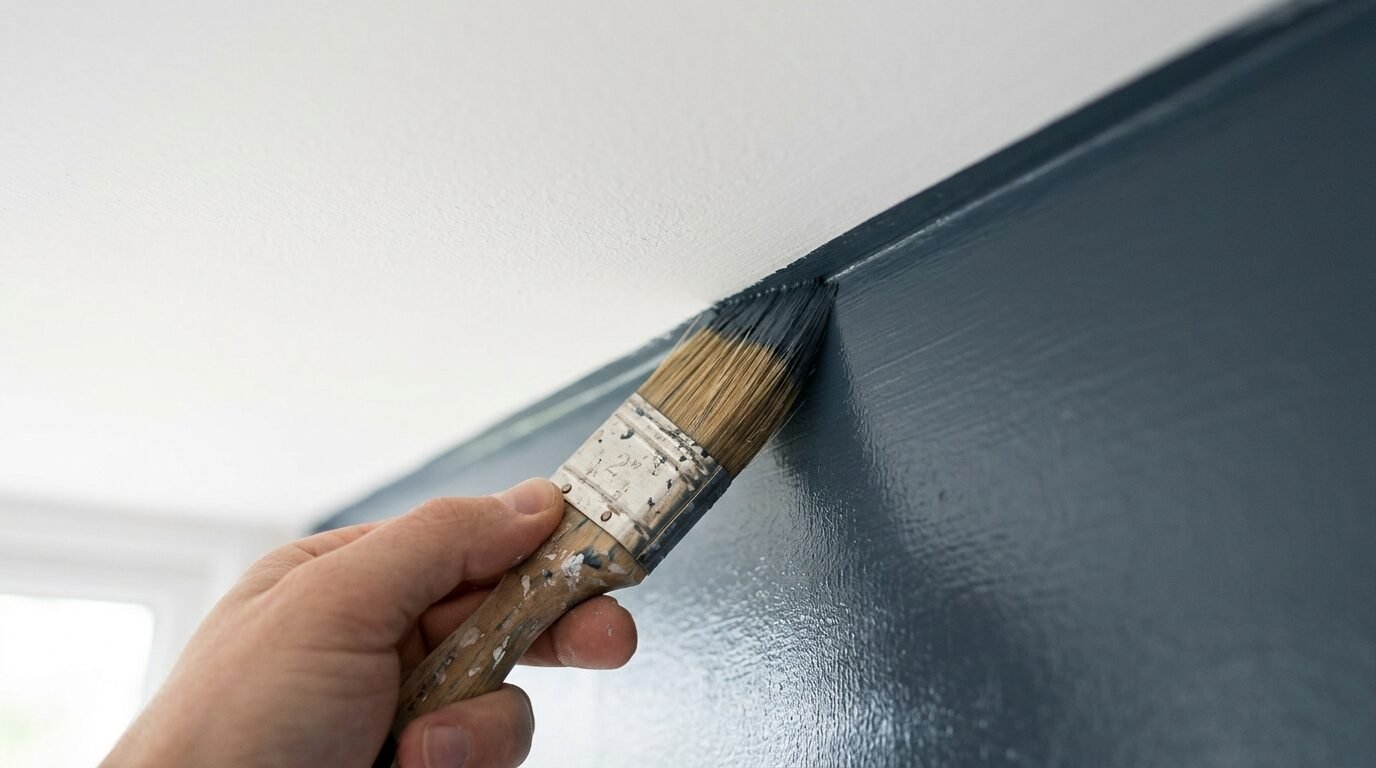
Cutting in means brushing a band of paint, about two inches wide, along the ceiling, trim and corners where a roller cannot reach. Do a section, then roll right away so the brushed edge and the rolled field blend while both are wet.
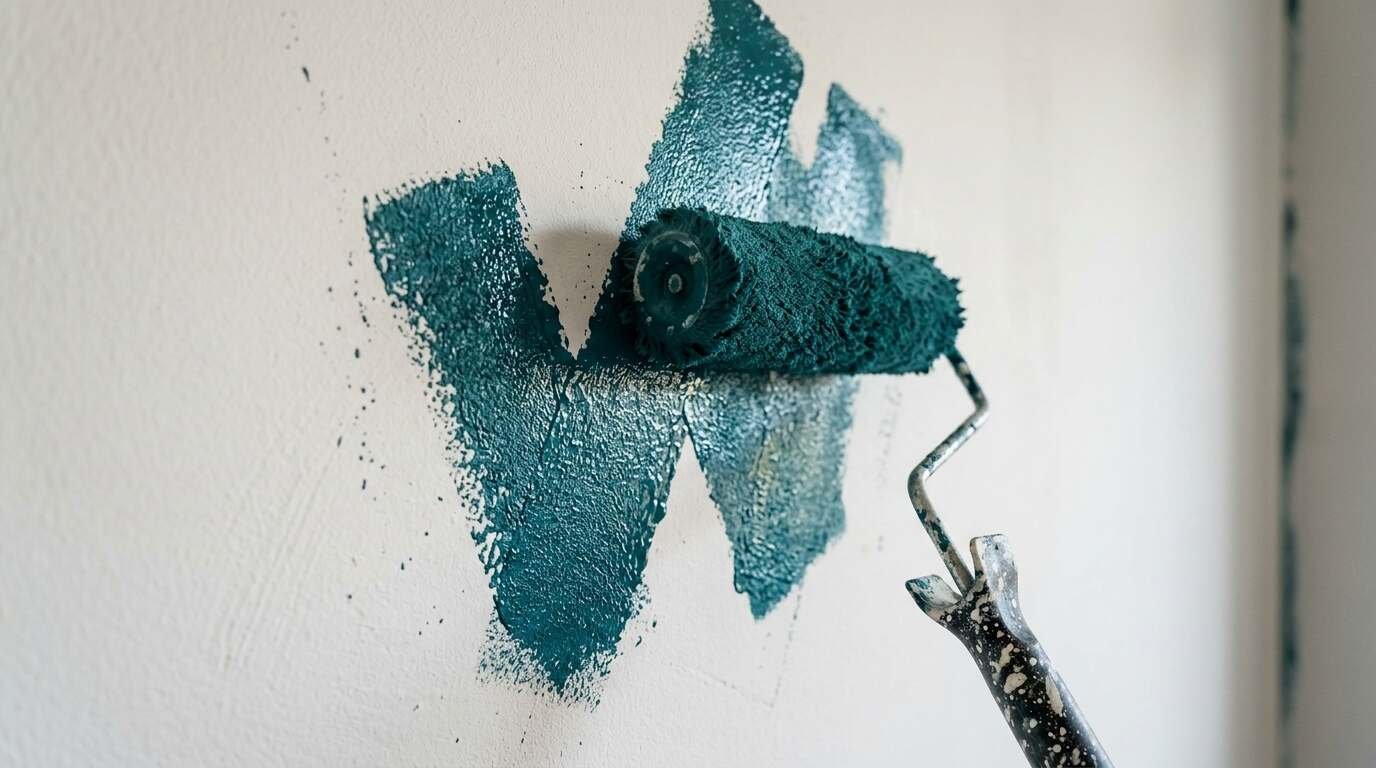
Load the roller evenly, then roll in a loose W or zigzag pattern about three feet wide. Fill in the shape without pressing hard. Finish each section with light, unbroken strokes from ceiling toward floor, and keep a wet edge as you move across the wall.
Give it two coats and let it cure
Most walls look streaky after the first coat, and that is normal. Wait the time on the label before the second. Pull the tape while the final coat is still slightly tacky, peeling slowly at a low angle, so the edge does not tear away dried paint.
Finally, let the room air out. Open windows if weather allows, and wait before pushing furniture back against fresh walls. Paint can feel dry well before it has fully cured.
Clean up and store the leftovers
Wash brushes and rollers promptly. Pour a small amount of leftover paint into a labeled jar for touch-ups, and note the color name, brand and room on the lid. Dispose of unwanted paint according to your local household hazardous waste rules rather than pouring it down a drain.