How to Clean a Dryer Vent
Some links in this guide are Amazon affiliate links. As an Amazon Associate, Maison Pawli earns from qualifying purchases at no extra cost to you. This guide is general information, not professional advice. When a job touches electrical, gas, structural or permit questions, hire a licensed professional.
Laundry loads that take two cycles to dry are trying to tell you something. The dryer feels hot on the outside, the clothes still come out damp, and the laundry room smells warm and faintly of burned dust.
That is a vent problem, and a serious one. Lint is fuel, and the stakes go well beyond a higher power bill.
Why it matters
Figures compiled from the National Fire Protection Association and the US Fire Administration, as cited by the Floyd County Fire Territory, put home fires involving clothes dryers or washing machines at about 15,970 a year in 2010 through 2014. Dryers were involved in 92 percent of them, and failure to clean was the leading cause of ignition in dryer fires, at 33 percent.
Numbers like these are the reason the fire service keeps repeating the same advice: keep the filter clean and keep the vent clear.
Start with the lint filter
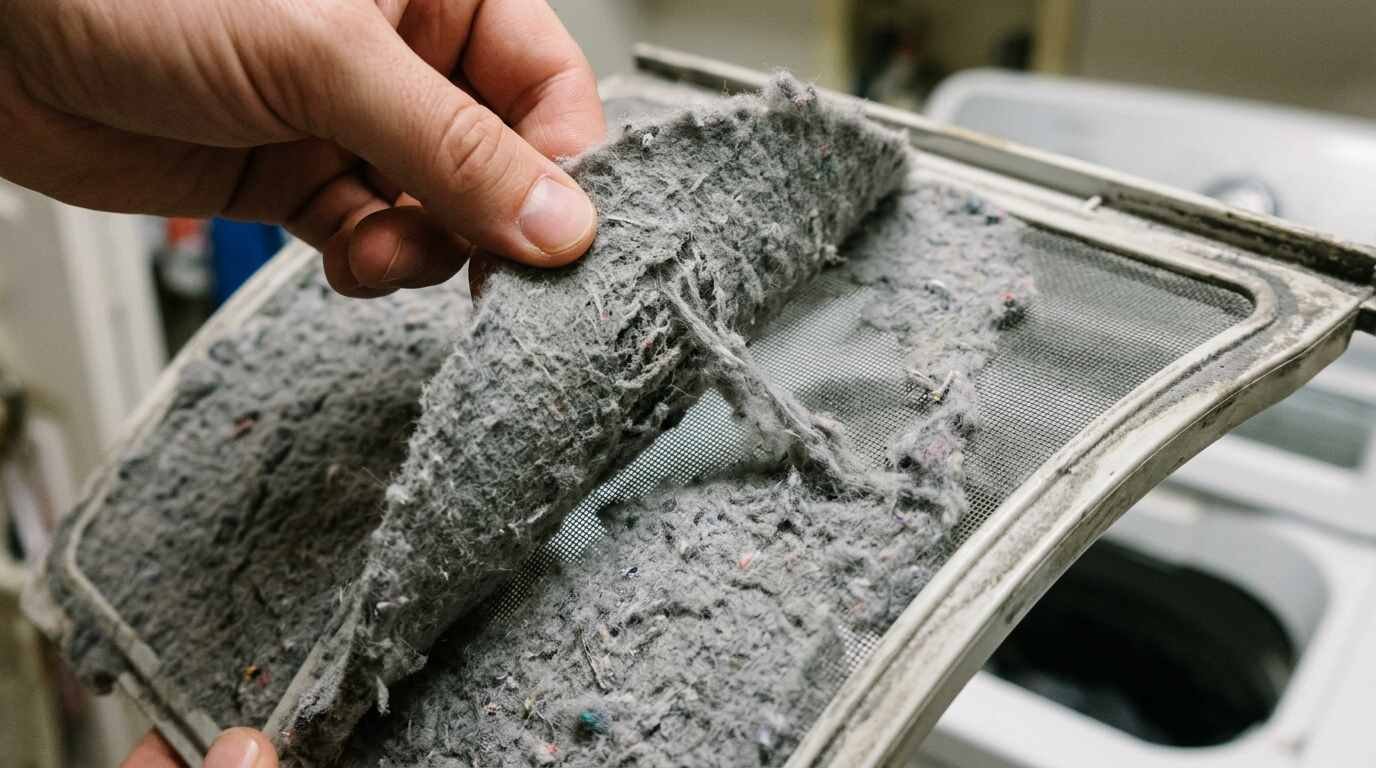
Clean the lint filter before or after every load, and never run the dryer without it. Pull out the screen, peel off the lint, and wipe the drum opening and the housing where the screen sits. Every so often, rinse the filter with warm water and mild soap and let it dry fully, since fabric softener residue can leave a film that restricts airflow.
Gather the tools
- A flexible dryer vent brush kit that extends several feet
- A vacuum with a long crevice tool or hose attachment
- A screwdriver or nut driver for the duct clamps
- Aluminum foil tape for sealing joints
- Work gloves and a dust mask
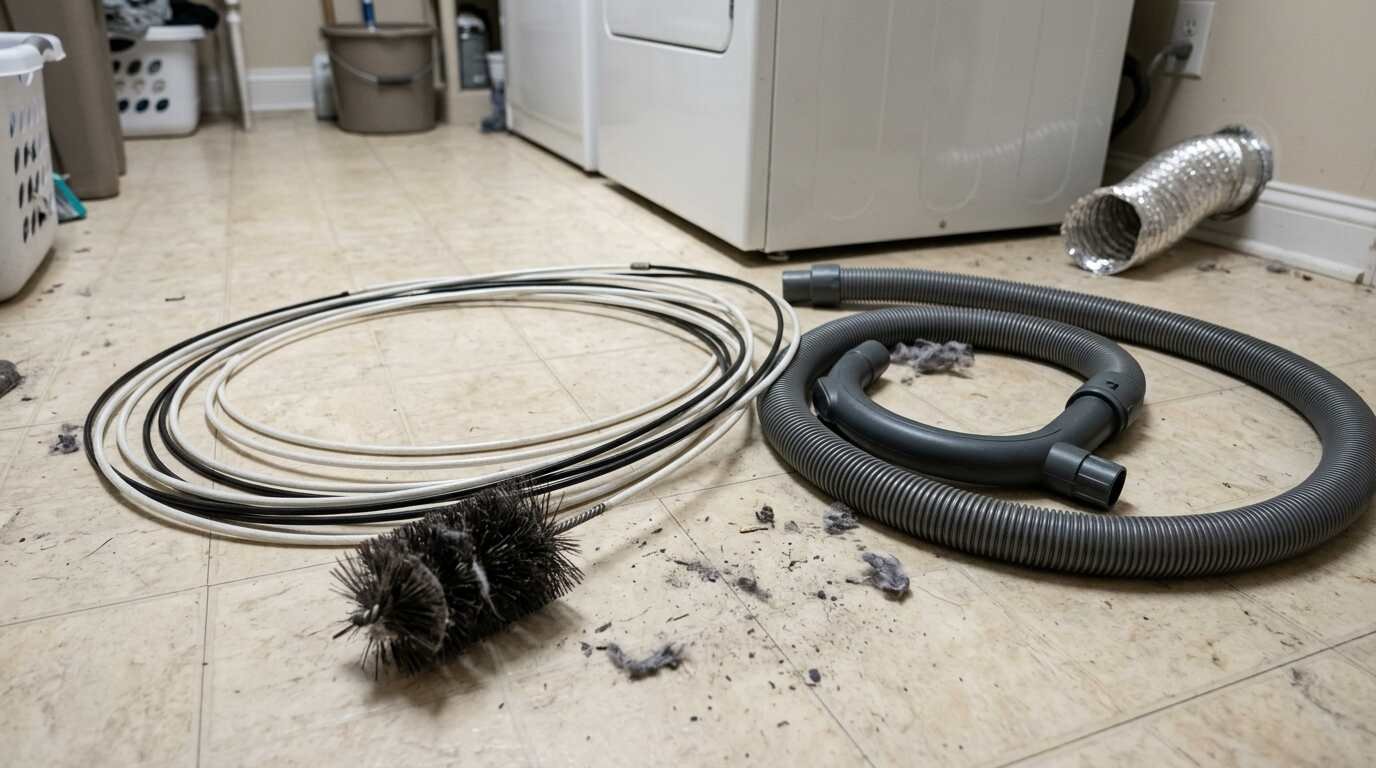
A dryer vent cleaning kit and a crevice tool attachment do most of the job, and a roll of aluminum foil tape seals the duct joints afterward.
Clean the duct
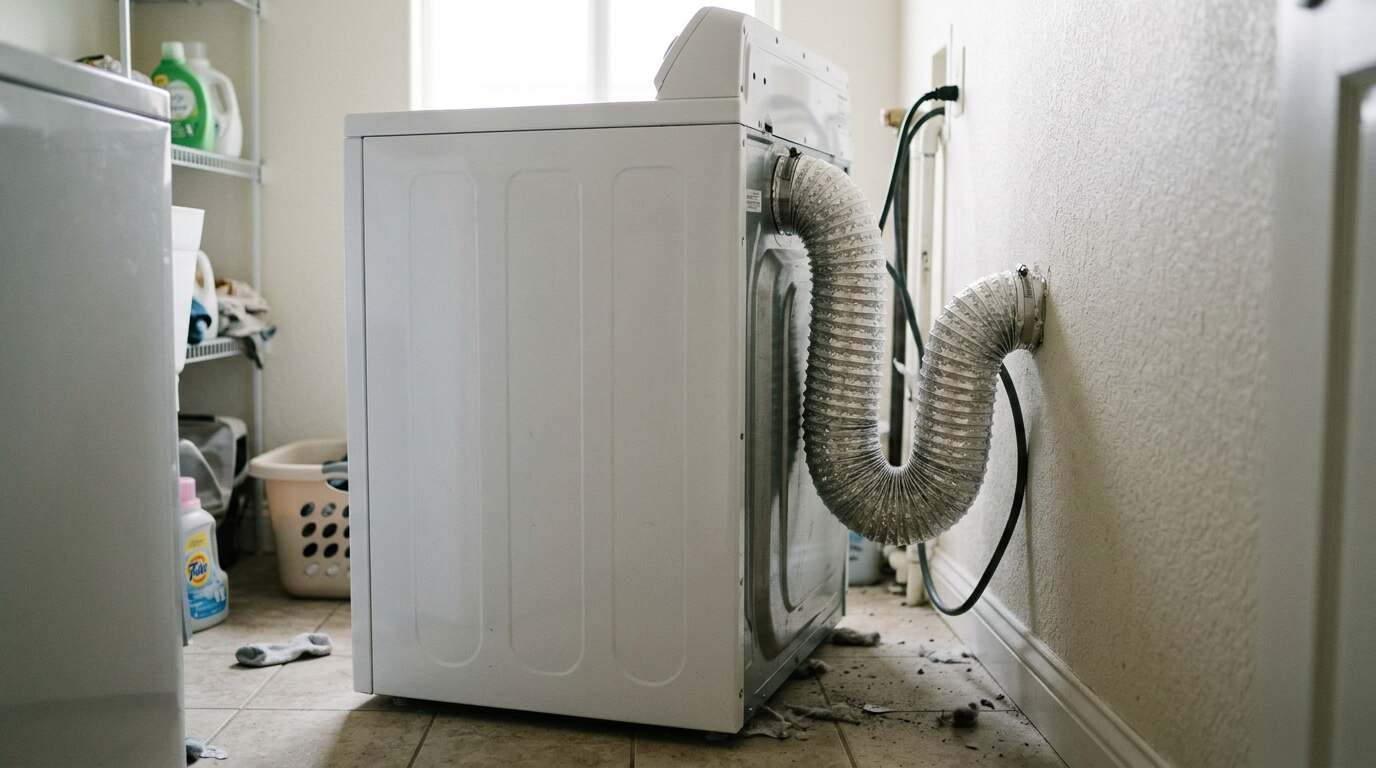
- Unplug the dryer. If it is a gas dryer, stop here and have a qualified professional handle the move and any work near the gas line.
- Pull the dryer out gently, without kinking the duct or straining the cord.
- Loosen the clamp and detach the duct from the back of the dryer and from the wall.
- Vacuum lint out of the dryer outlet and the wall opening.
- Run the brush through the duct from both ends, pulling out lint as you go.
- Reattach the duct, secure the clamps, seal joints with foil tape, and push the dryer back without crushing the duct.
The fire safety guidance recommends rigid or flexible metal venting, which maintains airflow, and cleaning the vent pipe at least once a year, or sooner if drying takes longer than usual. If your duct is plastic or flimsy foil, a replacement rigid metal dryer duct is worth considering.
Check the outside vent
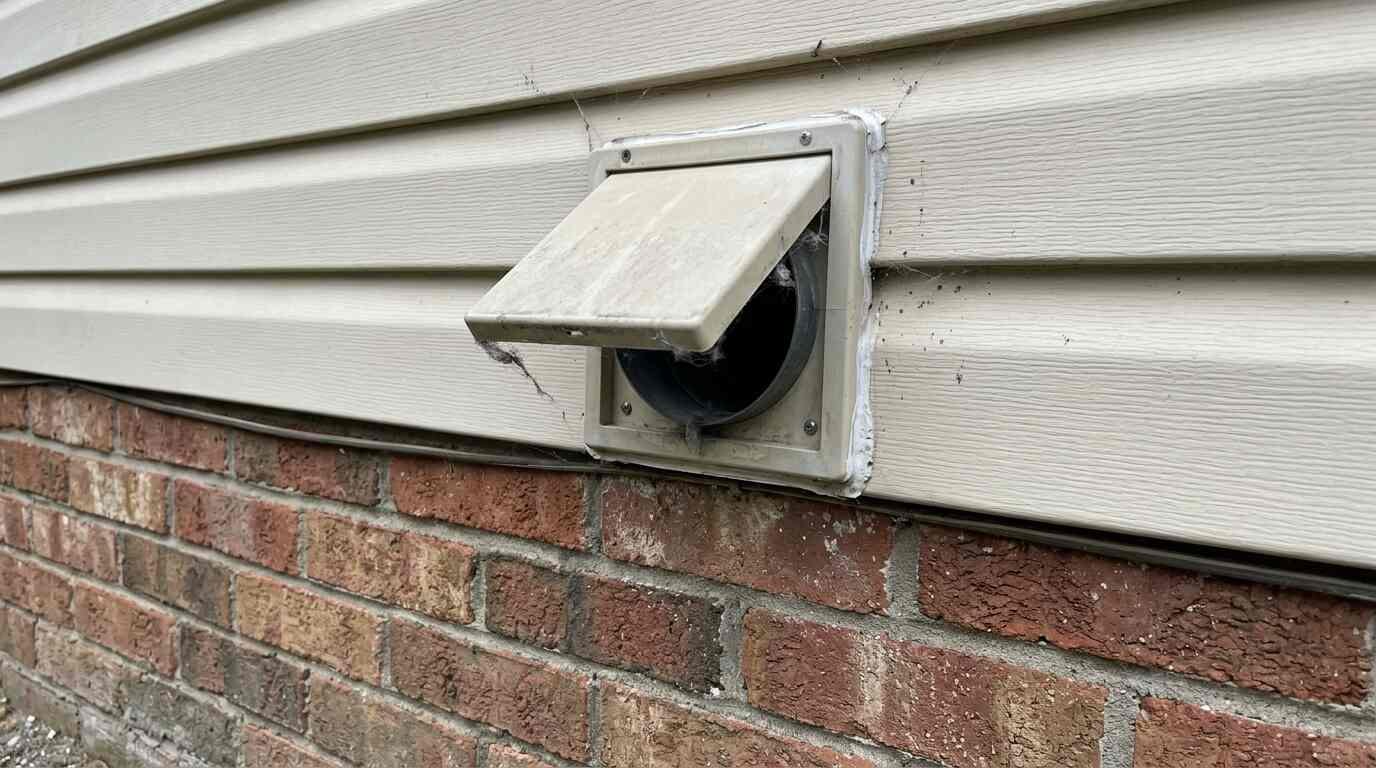
Walk outside to the vent hood on the exterior wall. Make sure nothing blocks it and that the flap opens while the dryer runs. Clear lint, nests or debris by hand, wearing gloves.
If the flap stays shut or only flutters, the duct may still be blocked or too long. Persistent trouble is a good moment to call a professional.
Habits that keep it safe
Do not overload the dryer, and follow the manufacturer’s instructions. Turn the machine off when you leave the house or go to bed. Use the correct plug and outlet, and confirm the dryer is connected properly. Have a qualified professional inspect a gas dryer’s line and connections for leaks.
If you smell gas at any point, leave the house, and call the gas utility or 911 from outside. Do not flip switches or use a phone indoors.