
Ice Dams on Long Island Roofs: Prevention Before the Snow
Some links in this guide are Amazon affiliate links. As an Amazon Associate, Maison Pawli earns from qualifying purchases at no extra cost to you. This guide is general information, not professional advice; confirm specifics with the appropriate licensed professional.
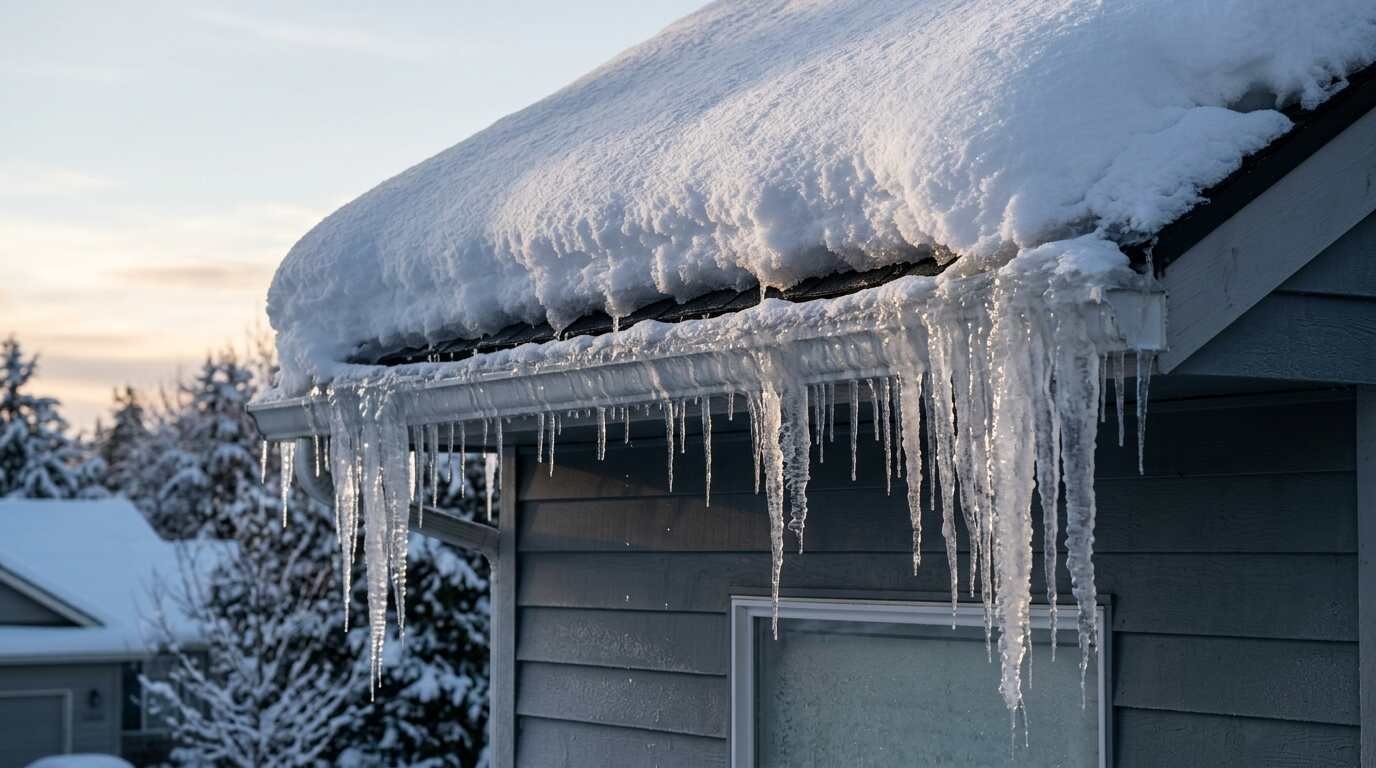
The drip shows up on a bedroom ceiling in February, usually at the worst moment, long after the snow that caused it has stopped falling. An ice dam is the culprit more often than a failed roof. The shingles may be sound; the trouble is that water has nowhere to go.
On the North Shore, with its cycles of freeze and thaw, the conditions arrive easily enough. Fixing the cause costs far less than the repairs, and the best time to do it is now, while the attic is comfortable to stand in.
What an ice dam actually is
Heat from the living space leaks into the attic. The roof deck warms, and snow resting on the upper part of the roof melts. That meltwater runs downhill until it reaches the eave, which is cold because it overhangs the wall and has no warm space beneath it. There, the water refreezes and builds a ridge of ice.
Later water pools behind that ridge, backs up under the shingles and finds its way through nail holes and seams into the insulation and ceiling below. Gutters full of ice only make matters worse. The remedy, then, is not about the ice at all. It is about keeping the roof deck cold and even.
Why some roofs dam and others never do
Two houses on the same street can behave very differently. One develops a thick ridge of ice every year; the other, down the block, barely shows an icicle. The difference usually lies in how much heat escapes to the attic and how evenly the roof sheds it.
Complex rooflines make things harder. Where a dormer meets a main roof, or an addition joins an older section, valleys collect snow and heat leaks collect with them. Low-pitched roofs hold snow longer, and they give meltwater more time to find a path in. A house with a finished attic, kneewalls and limited ventilation is a classic setting for trouble, because the framing that holds the insulation also hides leaks.
None of that means a dam is destiny. It means you should look hardest at the places where the house changes shape.
A fall walk-through, in order
Pick a dry day in October or early November and plan on about an hour. Begin outside with binoculars, looking at shingles, vents, flashing and gutters from the ground. Then go to the attic with a flashlight, a dust mask and a pair of gloves. Step only on joists or on boards laid across them; ceiling drywall will not hold your weight.
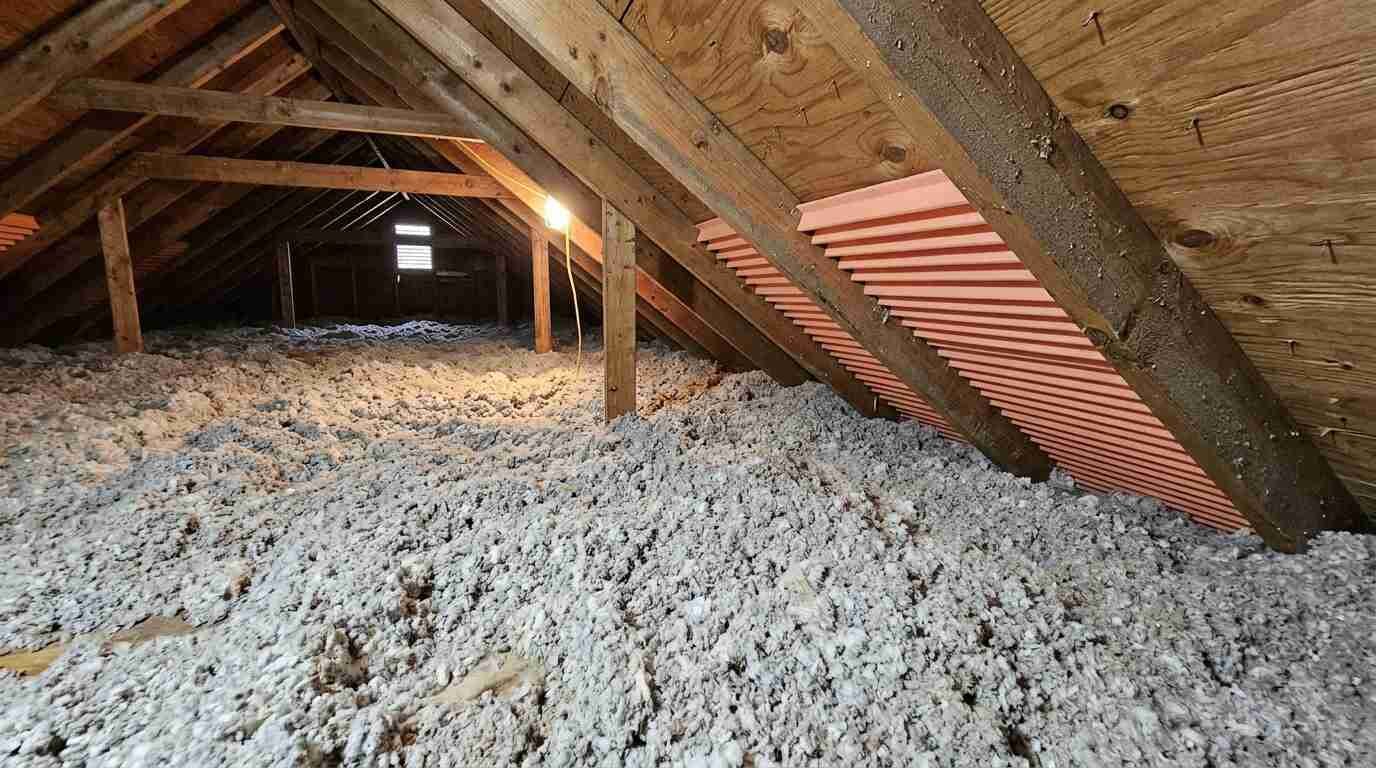
In the attic, you are looking for daylight where there should be none, dirty streaks in the insulation that show where air has been moving, frost on the nails or sheathing from the previous winter, and any stained wood. Dark stains on the underside of the roof deck suggest moisture has been condensing there, which points to air leaks, poor ventilation or both. Photograph anything odd so you can show a contractor.
Finally, check that bath fans and the dryer vent terminate outdoors. A vent that ends in the attic delivers a steady dose of moist air to exactly the place you want to keep cold and dry.
Air seal before you insulate
Most guidance on this problem, including material from Energy Star, points to the same order of work: stop air leaks first, then add insulation. Warm air rising through gaps carries far more heat than the slow conduction through the ceiling material, so insulation laid on top of an unsealed attic floor has less effect than it should.
Look for the usual paths:
- Gaps around recessed light fixtures and ceiling-mounted fans
- Openings where plumbing stacks, wires and flues pass through the attic floor
- The top of interior walls, where the framing meets the attic
- The attic hatch or pull-down stairs, which is often a bare piece of plywood
- Chimney chases, which need fire-rated sealants and metal flashing, not ordinary foam
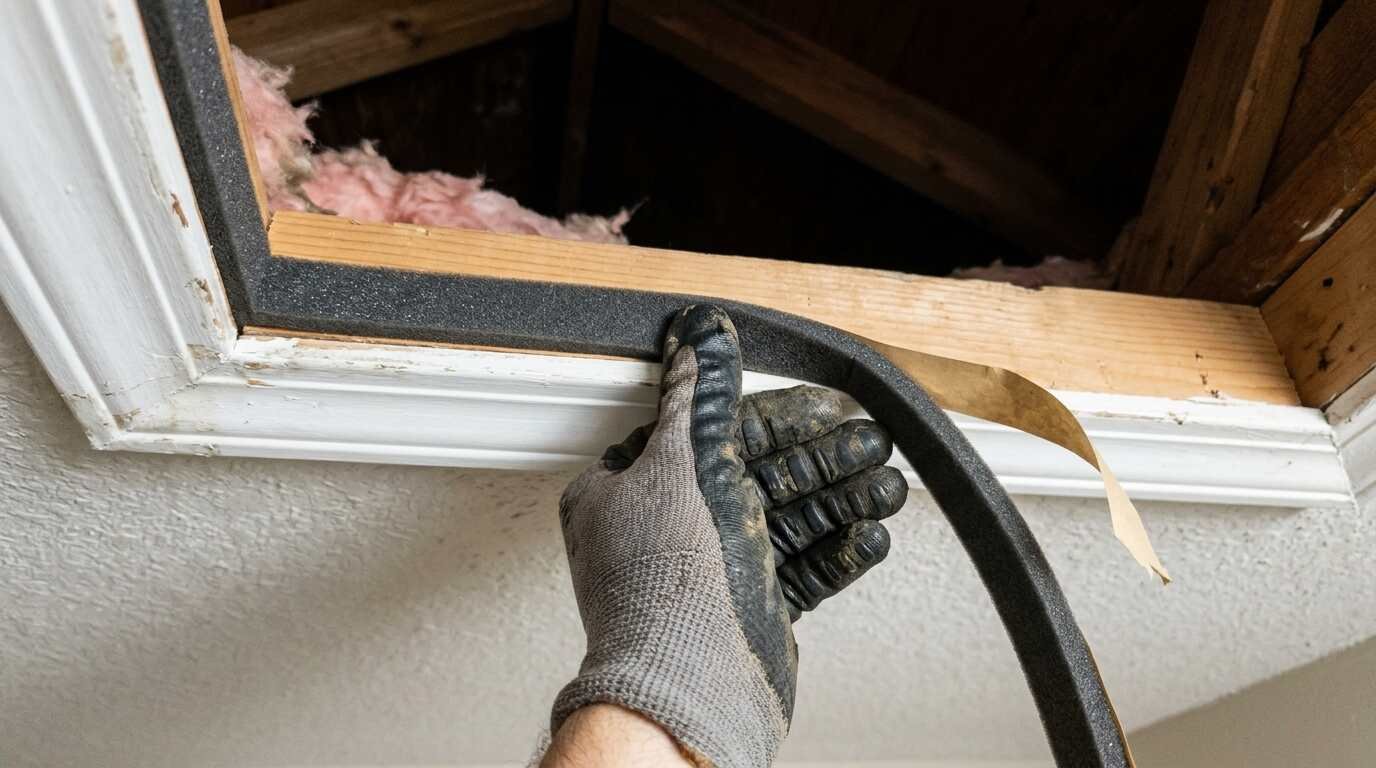
A can of fire-rated caulk, some expanding spray foam for ordinary gaps, and weatherstripping for an attic hatch handle many of these. Keep insulation clear of flues and of any recessed fixture that is not rated for contact. If you are unsure which fixtures are, ask a licensed electrician.
Add insulation and keep the vents open
With the leaks closed, check the depth of what you have. Pull a flashlight and a tape measure into the attic and look at the floor. If you can see the tops of the joists, the layer is thin. Recommended levels depend on climate zone and insulation type, so check the current Energy Star or Department of Energy map for our area rather than relying on a number you saw online.
Ventilation is the other half. Soffit vents at the eaves let cold air in; ridge or gable vents let it out. The airflow keeps the roof deck near outdoor temperature. Insulation pushed all the way into the eaves can block the intake, which is why rafter vents, sometimes called baffles, are installed to hold a channel open. Look for daylight at the soffits, and for clogged or painted-over vents.
If the attic has cathedral ceilings or a complicated roofline, with no open space to work in, call a qualified insulation contractor. These are the roofs that dam most readily and the hardest to correct by hand.
Clear the gutters and check the flashing
Leaves and debris left in the gutter hold water that freezes into the base of a dam. Clean them out in late fall, after the trees have dropped their leaves. A gutter scoop and sturdy work gloves are enough, and you should use a ladder only if you are steady on one, with someone nearby.
While you are up, look at the roof edge and around chimneys, skylights and dormers. Cracked or lifted flashing lets meltwater in even without a dam. In some cases, an installer may recommend a self-adhering waterproof membrane under the shingles along the eaves during a re-roof; ask a roofer whether it suits your house and what local code expects.
What to do when snow is already there
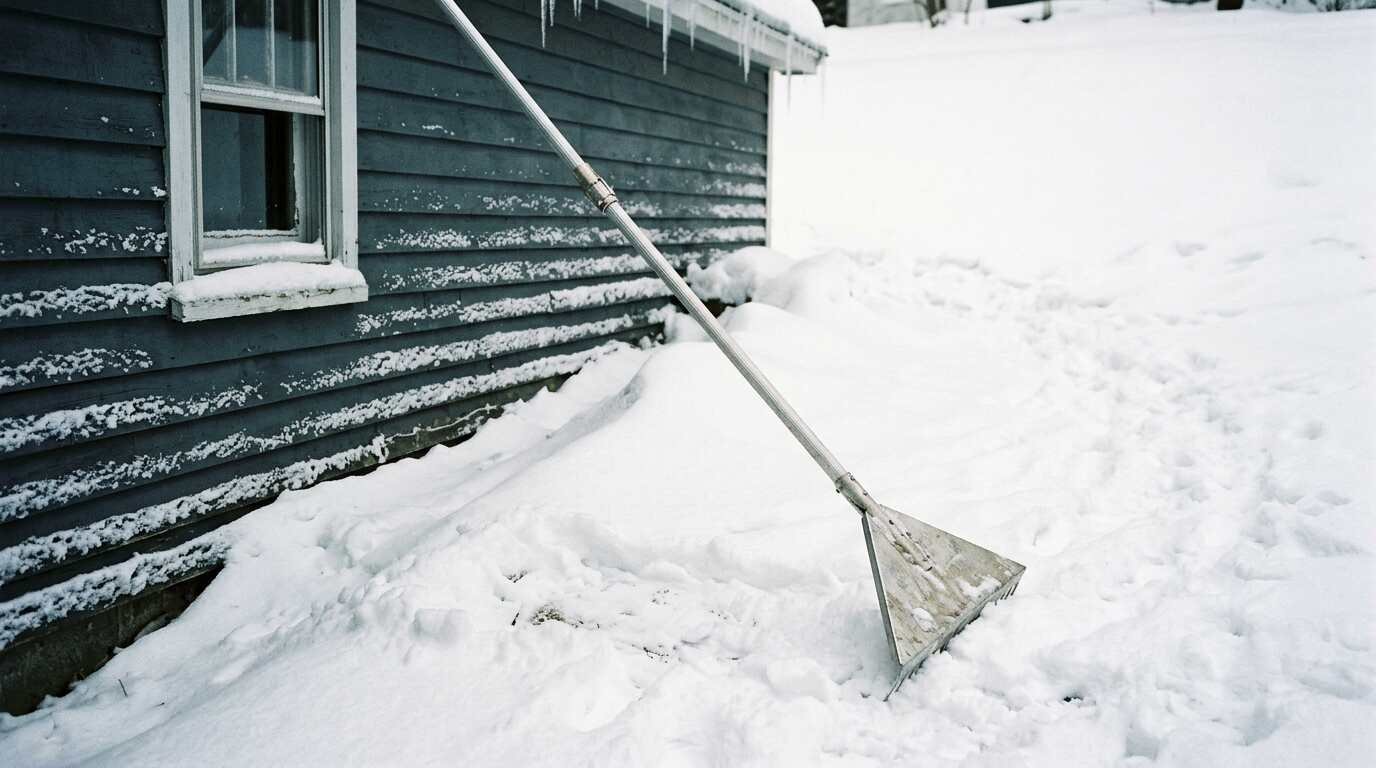
If a storm arrives before the work is done, a long-handled roof rake lets you pull snow off the lowest few feet from the ground. Take care. Never climb onto a snowy roof, and keep clear of power lines when you swing the pole.
Resist the urge to chop at ice with a hammer or an axe, which damages shingles. Some homeowners hang heat cables along the eaves as a stopgap; they have a place, but they treat the symptom and should be installed to manufacturer directions, preferably by an electrician. If water is already coming into the house, a roofer or a restoration company can steam the ice off safely.
Common mistakes and a quick checklist
The usual error is adding attic insulation without sealing air leaks, or the reverse of that, sealing everything tight and blocking the soffit vents. Both leave the roof deck warm. Another is relying on a bathroom fan that dumps into the attic; the duct should run all the way outdoors.
- Seal air leaks at the attic floor
- Add insulation to the recommended depth for our region
- Confirm that soffit and ridge vents are open
- Run bath and kitchen exhaust outdoors
- Clean gutters in late fall
- Buy a roof rake before the first storm
For buyers and sellers
An attic with signs of past moisture, such as dark stains on the roof sheathing or matted insulation, is worth asking about during an inspection. Sellers who have already done the air sealing and insulation can say so and keep receipts. This is general information, not legal, tax, financial or insurance advice. Confirm the details of your own situation with your attorney or another licensed professional.