Walking a Home Inspection: What to Watch and What to Ask
Some links in this guide are Amazon affiliate links. As an Amazon Associate, Maison Pawli earns from qualifying purchases at no extra cost to you. This guide is general information, not professional advice; confirm specifics with the appropriate licensed professional.
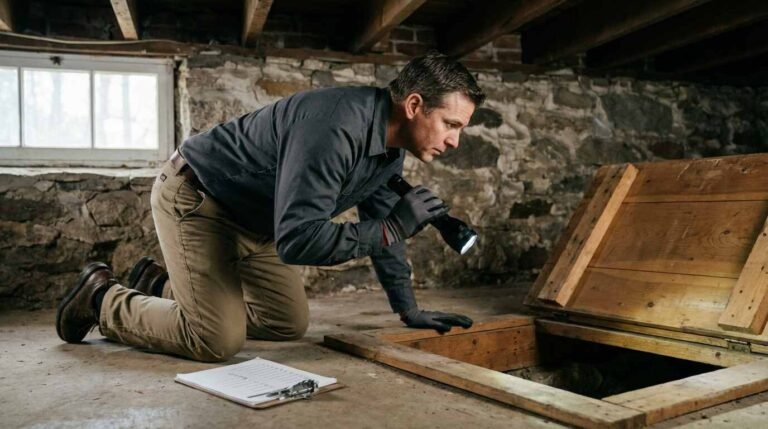
The inspection is two or three hours when you learn more about a house than any showing could teach. It is also the point at which many buyers stand in the kitchen and scroll through email. Do not do that. Go along, listen, and ask.
An inspector’s job is to examine the visible, accessible condition of a home and report on it. Not to predict the future, not to grade the house against others, and not to negotiate. Understanding that division of labor helps you use the day well.
Before the day arrives
Find out what the inspection covers and what it does not. A general inspection looks at structure, roof, exterior, plumbing, electrical, heating and cooling, interior, insulation and ventilation. Items such as septic systems, wood-destroying insects, radon, water quality, oil tanks and chimney interiors are often separate, specialist add-ons. Ask when you hire, not afterward.
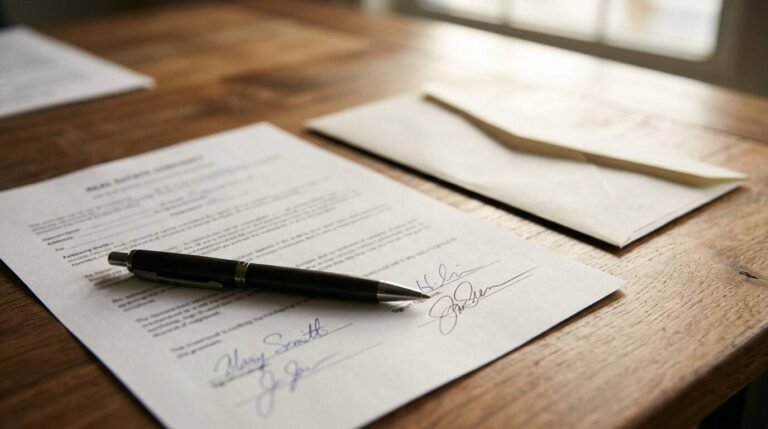
The timing and terms of your inspection usually come from the contract, and in New York the deadlines are negotiated through your attorney. If you are unsure how long you have, ask your attorney. This is general information, not legal, tax, financial or insurance advice. Confirm the details of your own situation with your attorney or another licensed professional.
What to bring
- A flashlight of your own, because the best view is often one you chose
- A notepad or phone for photos and notes
- The listing sheet and any seller disclosure
- Comfortable shoes and clothes you can crawl in
- A list of questions, written in advance
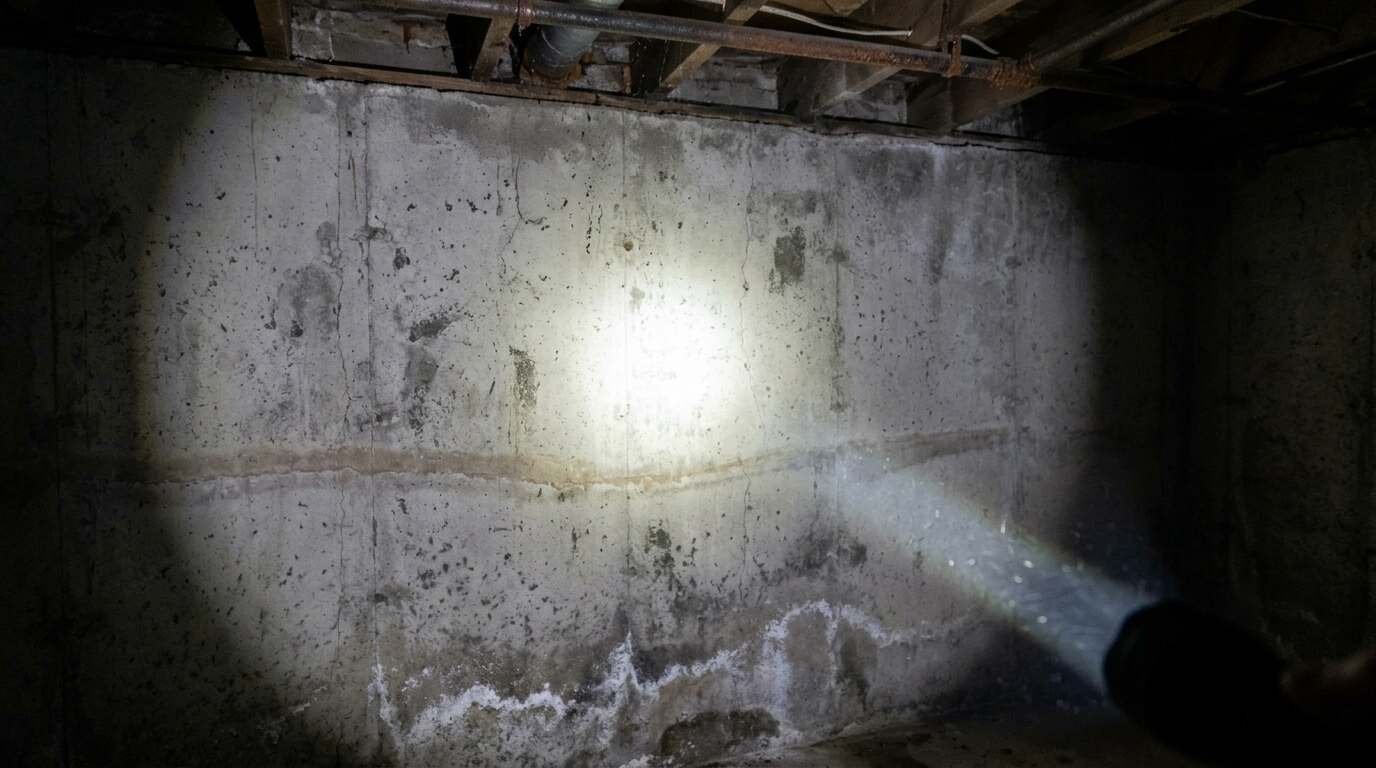
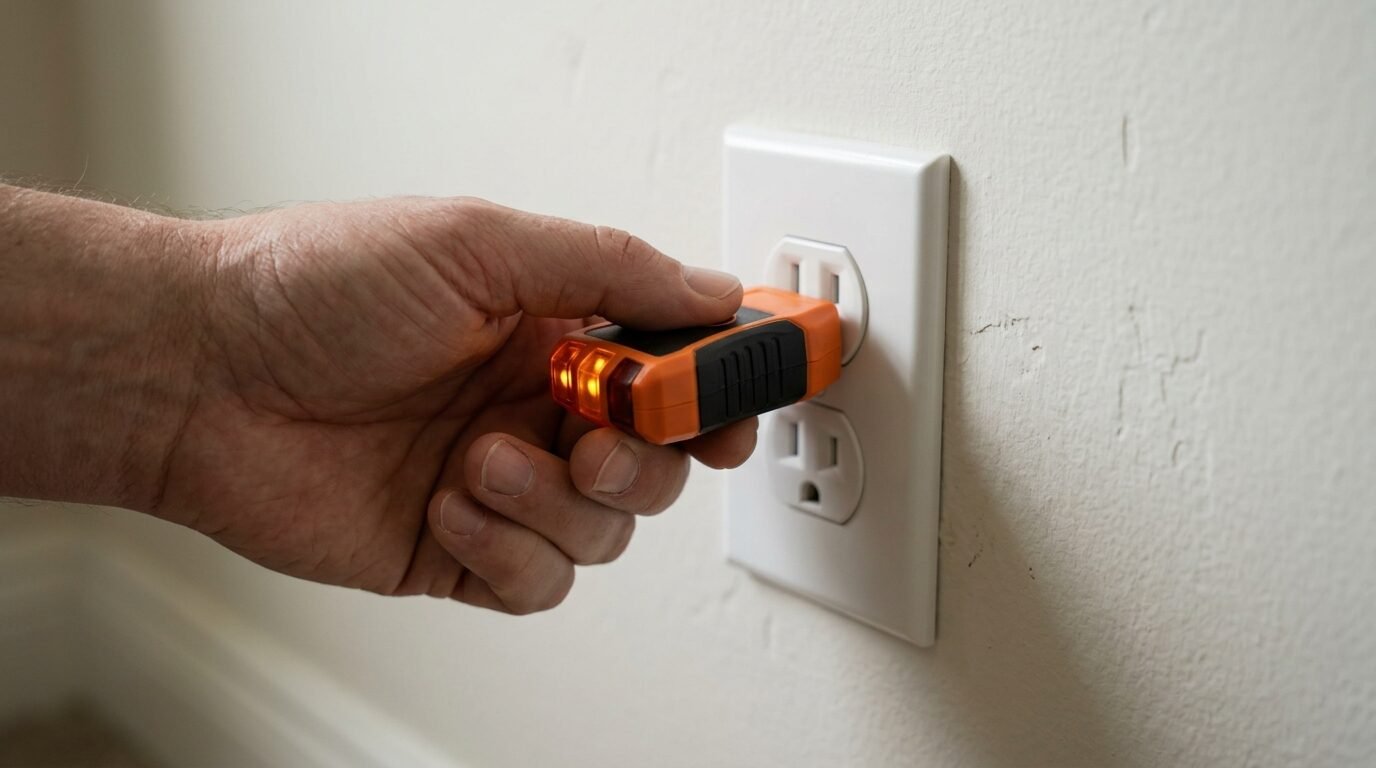
A bright LED flashlight, a basic outlet tester and a small moisture meter are inexpensive tools that make a buyer more observant. They do not replace the inspector, and a reading from a cheap meter is a prompt to ask, not a finding.
What a good day looks like
You arrive on time, say hello to the inspector, and agree on a route. The inspector works for a couple of hours and tells you what they see as they go. You hold back from questions until they finish a system, then ask. By the end, you have a verbal summary, a list of the specialists they would call, and a rough date for the written report.
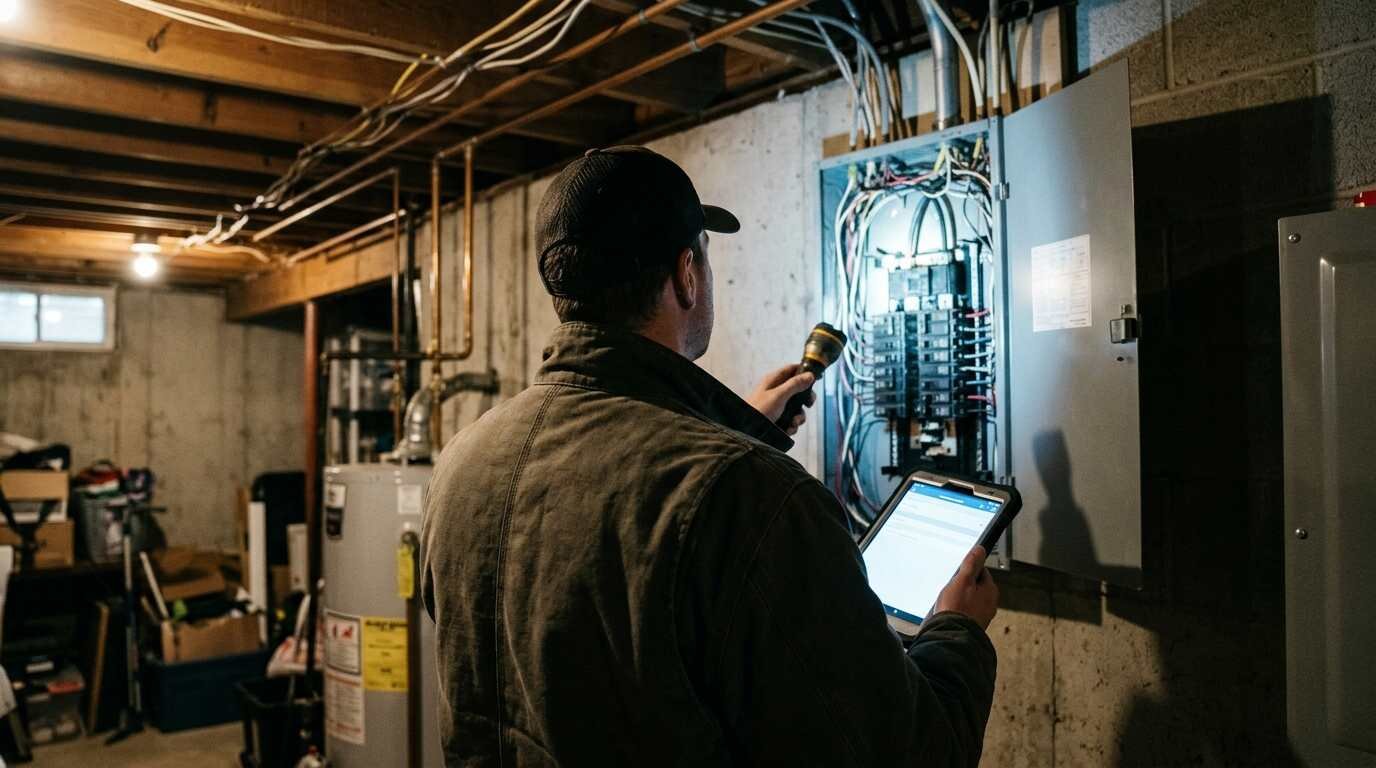
Notes help. Write the location with each item: “rear bedroom, window sill, soft wood” is far more useful than “window problem”. Photograph every label you can find on the furnace, water heater and panel, because they tell you the age and the model without anyone having to guess.
Be a decent guest, too. The house belongs to someone else, and the seller’s belongings are on every shelf. Do not open private closets or drawers beyond what the inspector needs, and leave things the way you found them.
Outside: roof, grading, and structure
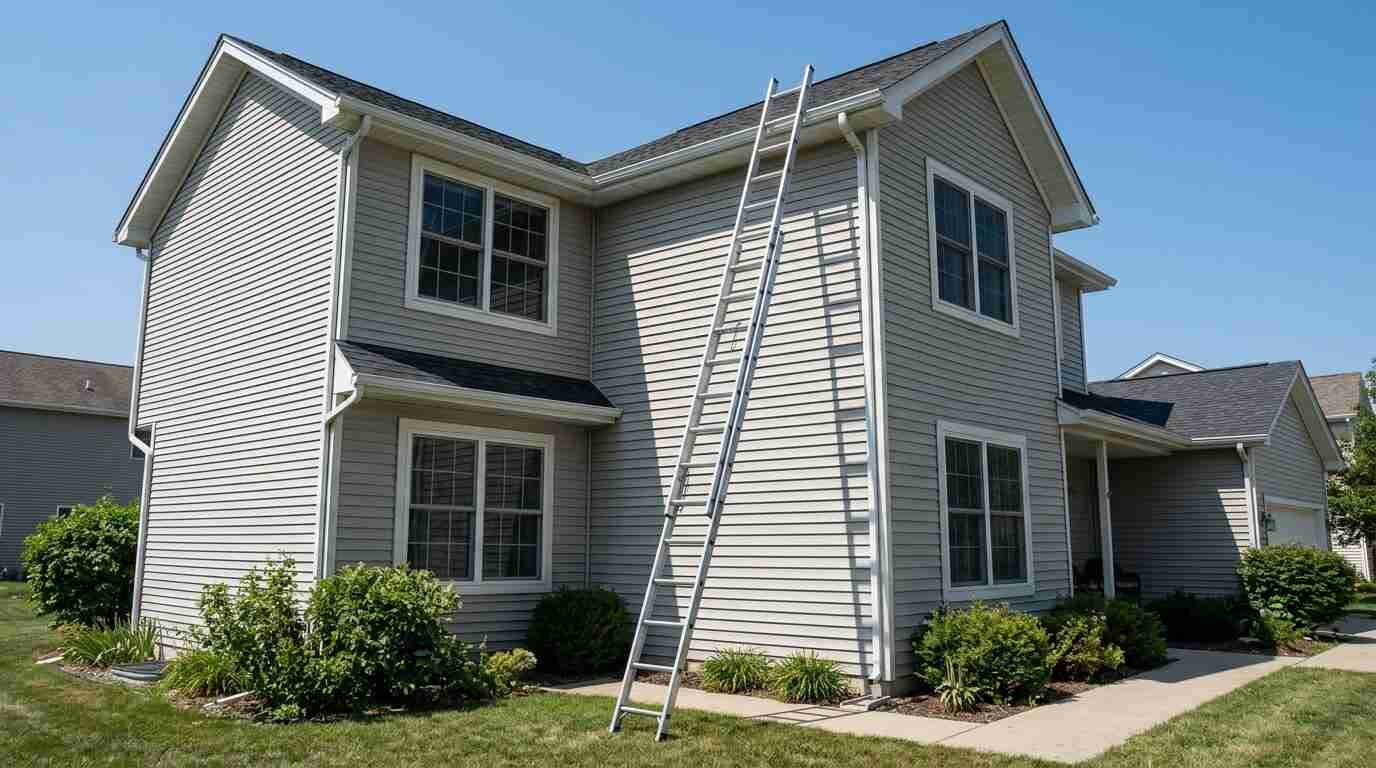
Start with the ground. Does soil slope away from the foundation, or toward it? Are downspouts discharging near the house or several feet away? Look at the siding, the trim, the deck connections and the chimney. The inspector may use a ladder or a drone to view the roof, and you should ask what they could not see.
Ask about remaining life of the roof, but understand that answers are estimates. A roof in good shape today can have a limited number of years left, and a plain range is more honest than a single figure.
Inside: systems and signs
At the electrical panel, ask whether the panel is labeled, whether any breakers look overloaded, and what type of wiring the house has. At the water heater, ask the age (the data plate usually tells you) and whether there are signs of leaks. In the heating system, ask when it was last serviced, what fuel it uses, and what sort of maintenance records exist.
Walk through rooms with your eyes on ceilings and the lower corners of walls. Stains, bubbling paint, and a musty smell can point to a moisture history. Open and close windows and doors. Run faucets and flush toilets, and look beneath sinks.
In older homes and many North Shore properties, you may hear about knob-and-tube wiring, galvanized supply pipes, oil tanks buried or above ground, or asbestos-containing materials. None of these is automatically a deal-breaker. Each is a question about cost and safety that a specialist can answer.
Specialist add-ons worth considering
A general inspection is a wide survey, not a deep one. For some houses it is wise to bring in a specialist, and the cost is small next to the cost of a surprise. Which ones apply depends on the property.
- Sewer scope or septic evaluation, where the property relies on a private system
- Radon testing, particularly for homes with basements
- Wood-destroying insect inspection
- Oil tank inspection or locating a buried tank, in older homes that heated with oil
- Chimney inspection by a certified sweep, if there is a working fireplace
- Water testing, where the supply is a private well
- Structural engineer, when the inspector sees cracks, sagging or movement they cannot explain
Ask your inspector which of these make sense for the particular house, then ask your attorney how the contract treats the timing of the results.
Questions worth asking out loud
- What are the three most important items you found, and which are safety concerns?
- Which findings are routine maintenance, and which are expensive?
- What could not be inspected, and why?
- Should a specialist, such as an electrician, a roofer or a structural engineer, take a look?
- What would you want to fix first if this were your house?
- How long should major systems last, and what upkeep helps?
Ask the inspector to point things out rather than simply describing them. Photographs and a quick demonstration, such as showing where a shutoff valve is, will be worth far more than a paragraph later.
Reading the report
The report may run dozens of pages, filled with photographs and caution flags. A few items will be urgent, many will be maintenance, and some will be cosmetic. Sort them accordingly. Do not panic at length; every house, including new construction, has a list.
Next, bring the report to your attorney and your agent. Together you decide whether to ask the seller for repairs, a credit, a price adjustment, or nothing. Whether any of these is available depends on the contract, so the attorney leads that conversation. Get quotes from licensed professionals for the larger items before making demands.
Follow-up after the report
Give yourself a day to read before reacting. Highlight what concerns you, then call the inspector with questions; most are glad to explain a finding or clarify wording. Ask whether a photo in the report shows a typical condition or a serious one. A cracked tile and a cracked foundation can both appear as a single line in a long document.
If you intend to ask for concessions, group your requests. Safety items, active leaks and failed systems usually carry more weight than cosmetic wear. Your attorney will tell you what the contract allows, and what the seller is likely to accept. Sometimes the best outcome is simply knowing what you are buying, so you can set money aside and plan the work.
Common mistakes
Skipping the inspection to appear competitive is one. Another is treating the report as a negotiation weapon for every small item, which can sour a deal over a loose cabinet knob. Showing up late and missing the walk-through itself is a third, and the most avoidable.
Finally, remember the report is a snapshot. It cannot see behind walls, under finished floors or into the future. Treat it as an informed guide, along with the seller’s disclosures and your own observations.